Resin castings tend to trap air which show up as warts on the surface. The solution for blemish-free resin casts is to cast them in a pressure pot which compresses the trapped air and gives beautiful results!
All of us want to make blemish-free and perfect resin castings. But what we are often left with is a surfeit of surface imperfections on the cast in the form of pinprick holes or other tiny deformities, more so in water clear resin castings. This is primarily because air tends to get trapped in the resin in the mixing stage and will show up as unsightly air bubbles in the casting. Resin has a propensity to capture air and this will happen no matter how carefully the resin is mixed and poured.
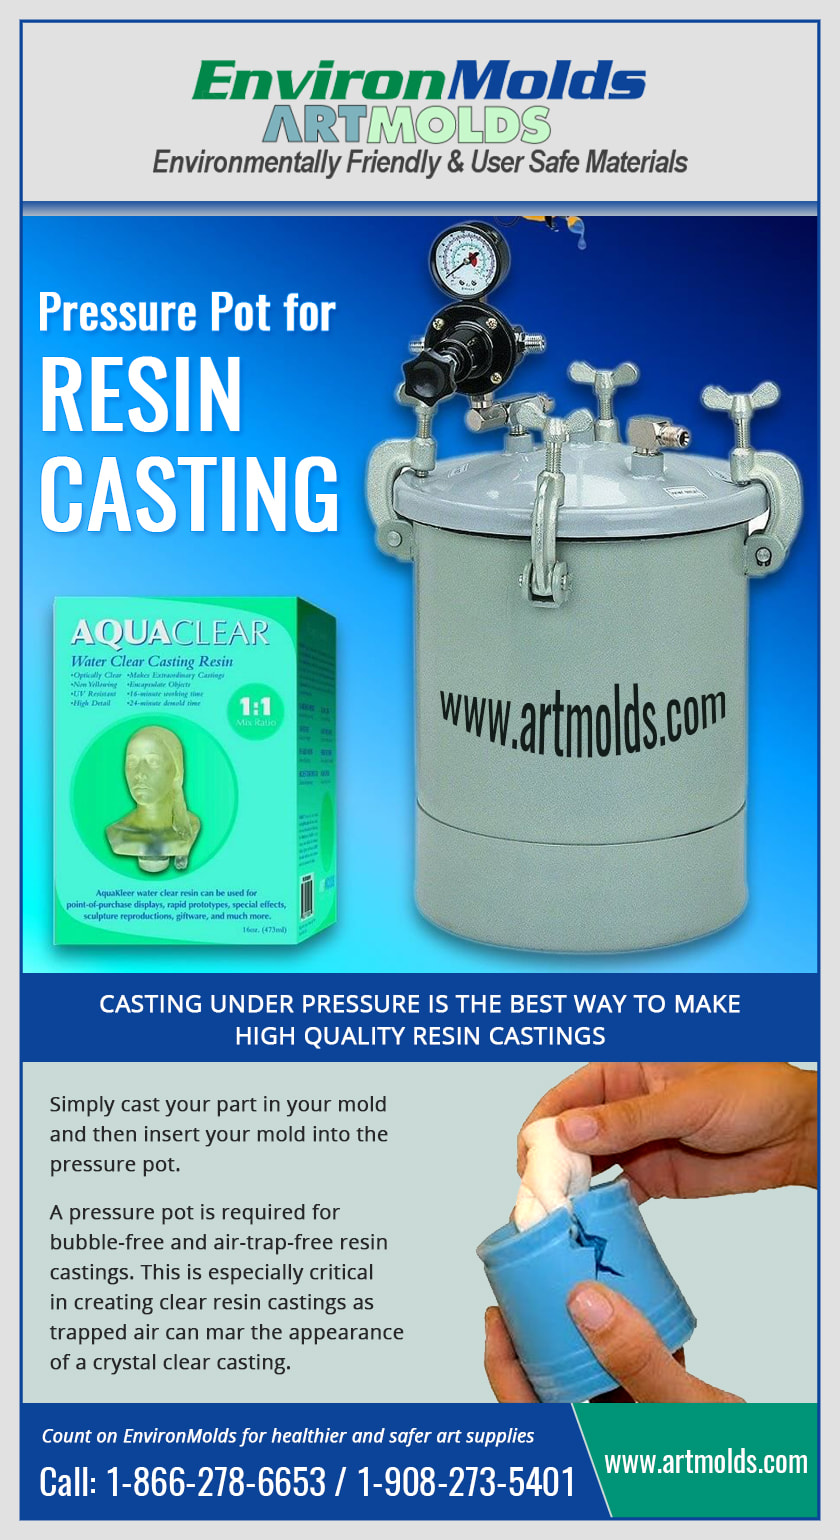
The answer to getting bubble-free casts is to use a pressure pot for resin casting. As the name goes, this is a pot like entrapment which uses pressure to eliminate the air bubbles. The chamber is vacuum sealed and a compressor is used to fill the pot with the required level of air pressure (usually 40 to 50 PSI).
This works on two levels – firstly, the air pressure itself crushes the trapped air bubbles so that they collapse to a microscopic size and are no longer visible. And secondly, it also forces the resin to flow into the narrow and complex crevices and indentations. This will ensure that the cured cast is flawless sans any imperfections.
Other tricks like tapping on the outer surface of the mold or vibrating the mold to release the bubbles do not work as effectively. Pricking, filling and smoothing out the bubbles that show up from the trapped air can also be quite taxing and yet will not lead to perfection.
How to use?
The usual practice is to place the mold filled with the casting material into the pressure pot and leave it till the resin has cured (it will generally take around 12 hours). This is because the air bubbles will tend to spring back once the pressure is released. However, as resin cures to a rigid and non-flexible form, there will be no space for the air pockets to show up again!
Once the resin has cured, the pressure is released and the casting is removed before demolding to reveal a lovely and seamless casting. This can be pained and finished as desired.
When purchasing a pressure pot, ensure that it is the appropriate size and capacity. The compressor has to be purchased separately. It should be set up properly and used as directed.
Casting artists should keep in mind that they should use pressure pot for resin casting only. This equipment will not work as well when making rubber casts. Rubber is inherently flexible and as soon as it is removed from the pressurized environment, the air bubbles will regain their original size as the material that it contains can stretch as much as needed!
All of us want to make blemish-free and perfect resin castings. But what we are often left with is a surfeit of surface imperfections on the cast in the form of pinprick holes or other tiny deformities, more so in water clear resin castings. This is primarily because air tends to get trapped in the resin in the mixing stage and will show up as unsightly air bubbles in the casting. Resin has a propensity to capture air and this will happen no matter how carefully the resin is mixed and poured.
The answer to getting bubble-free casts is to use a pressure pot for resin casting. As the name goes, this is a pot like entrapment which uses pressure to eliminate the air bubbles. The chamber is vacuum sealed and a compressor is used to fill the pot with the required level of air pressure (usually 40 to 50 PSI).
This works on two levels – firstly, the air pressure itself crushes the trapped air bubbles so that they collapse to a microscopic size and are no longer visible. And secondly, it also forces the resin to flow into the narrow and complex crevices and indentations. This will ensure that the cured cast is flawless sans any imperfections.
Other tricks like tapping on the outer surface of the mold or vibrating the mold to release the bubbles do not work as effectively. Pricking, filling and smoothing out the bubbles that show up from the trapped air can also be quite taxing and yet will not lead to perfection.
How to use?
The usual practice is to place the mold filled with the casting material into the pressure pot and leave it till the resin has cured (it will generally take around 12 hours). This is because the air bubbles will tend to spring back once the pressure is released. However, as resin cures to a rigid and non-flexible form, there will be no space for the air pockets to show up again!
Once the resin has cured, the pressure is released and the casting is removed before demolding to reveal a lovely and seamless casting. This can be pained and finished as desired.
When purchasing a pressure pot, ensure that it is the appropriate size and capacity. The compressor has to be purchased separately. It should be set up properly and used as directed.
Casting artists should keep in mind that they should use pressure pot for resin casting only. This equipment will not work as well when making rubber casts. Rubber is inherently flexible and as soon as it is removed from the pressurized environment, the air bubbles will regain their original size as the material that it contains can stretch as much as needed!
 RSS Feed
