Creating molds is an art form that opens a world of possibilities for artists, crafters, and DIY enthusiasts alike. Whether you're looking to replicate a cherished sculpture, craft custom pieces, or delve into the fascinating world of casting, making a mold is a crucial skill to master. In this comprehensive guide, we'll explore the step-by-step process of creating molds and uncover the secrets to achieving professional results.
Understanding the Basics: What is Mold Making?
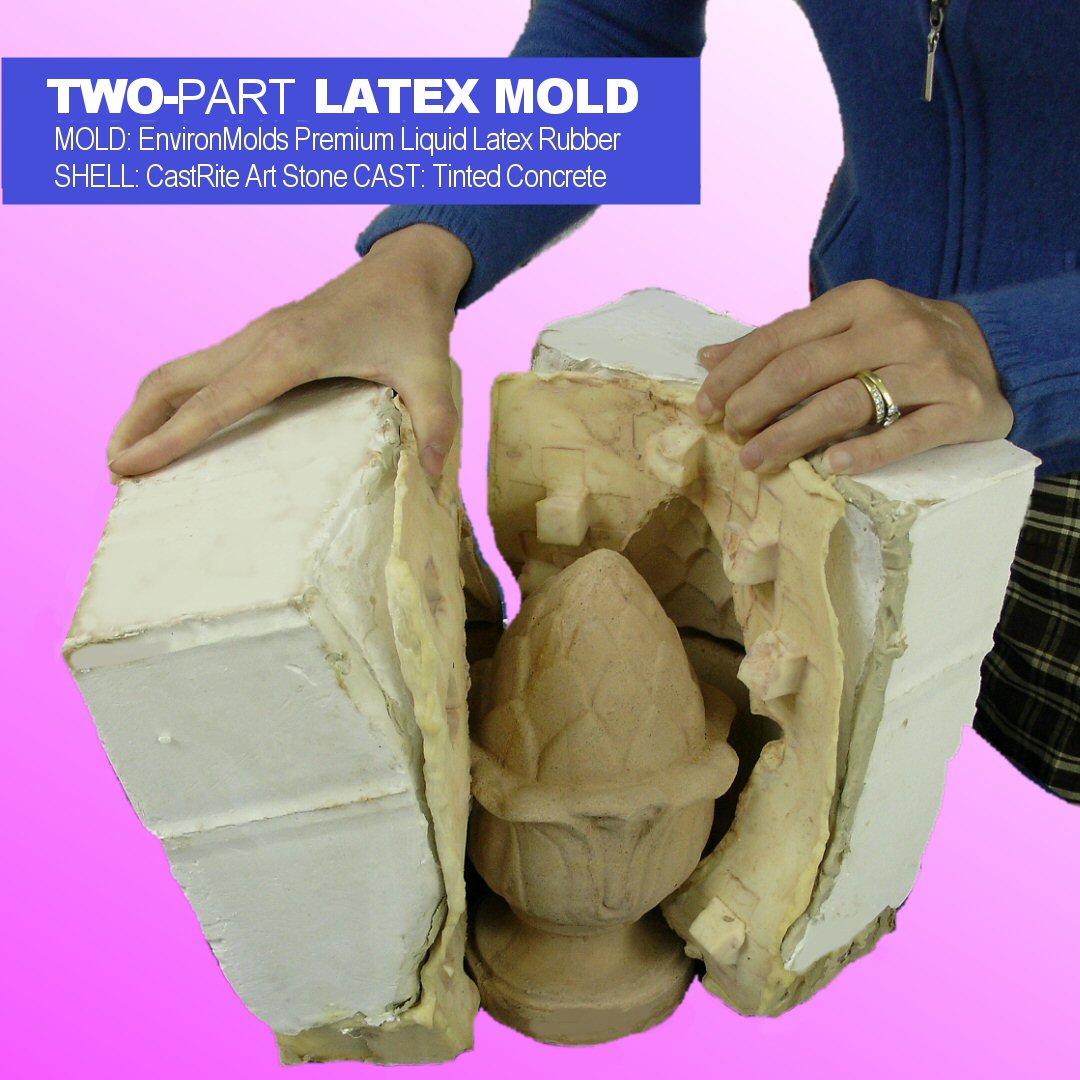
At its core, making a mold is the process of creating a replica of an object by capturing its form in a mold and then casting a material into that mold. This technique allows usto produce multiple identical copies, making it an invaluable skill for various creative endeavors. To embark on this journey, you need a keen eye for detail, precision, and the right materials.
Materials and Tools You'll Need
Before diving into the process of how to make a mold, gather the essential materials and tools. Silicone rubber, plaster, or latex are common materials used for making molds. Additionally, you'll need a mixing container, stirring utensils, and release agents to ensure easy demolding. Depending on the complexity of your project, you may also require support shells or mother molds to provide structural integrity.
Choosing the Right Material
Selecting the appropriate material for your mold is crucial. Silicone rubber, known for its flexibility and durability, is an excellent choice for intricate shapes and fine details. Plaster molds, on the other hand, are ideal for simpler projects and larger casts. Consider the properties of each material in relation to your specific project to make an informed decision.
Preparing the Object and Work Area
Thoroughly clean and prepare the object you wish to mold. Remove any dust, debris, or imperfections that may affect the mold's quality. Set up your work area with all the necessary tools within easy reach. Ensure proper ventilation, especially when working with materials that emit fumes.
Applying Release Agent
To prevent the mold material from sticking to the object, apply a release agent. This step is crucial for ensuring a smooth demolding process and preserving the details of your object.
Mixing and Pouring the Mold Material
Follow the manufacturer's instructions for mixing the mold material. Once mixed, carefully pour it over the object, ensuring complete coverage. Tap the container to release any air bubbles and achieve a flawless mold.
Curing and Demolding
Allow the mold material to cure completely before attempting to demold. This process may take several hours, depending on the type of material used. Once cured, gently remove the mold, revealing the intricate details captured from the original object.
Conclusion: Unleash Your Creativity with Mold Making
Mastering the art of making molds opens a world of creative possibilities. Whether you're a sculptor, artisan, or hobbyist, the ability to replicate and experiment with forms enhances your artistic journey. So, gather your materials, follow these steps, and embark on a molding adventure. Unleash your creativity and watch as your artistic vision comes to life through the magic of mold making.
Begin your mold-making journey today and elevate your craft to new heights.
 RSS Feed
